Bill Marcy
PCS Member
She is really shaping up!


")
Thank you Bill and rest assured, the storks will be painted on again too!
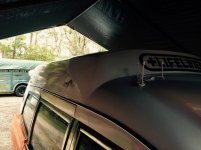
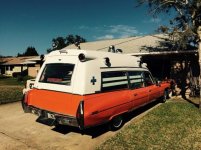
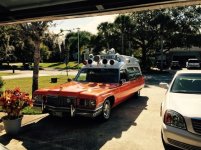
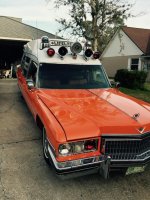
Is this being restored as original, with no lights on the top of the raised roof?
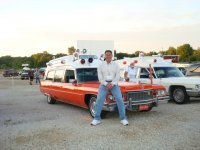
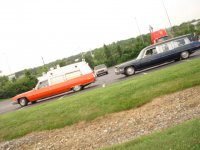
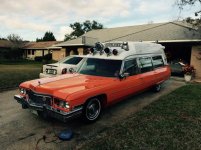
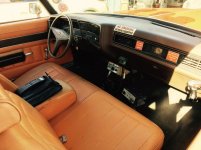
Going back to the way it came from the factory as ordered per the owner. The beacons where mounted there as well as the rear loading lights on the side due to a low car port at the funeral home.
So-o-o-o...you're saying that nothing will go on the raised portion of the roof, as originally ordered? Great - glad to hear it!
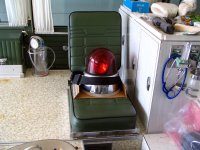
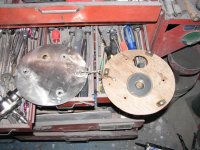
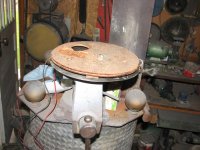
I guess I got my roofs switched. I will be re-installing a top beacon and the MARS 888 light up there.

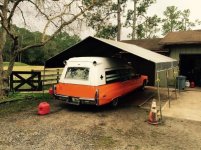
now thats nice. did you make the top light demountable? if it is that way you bend the load light in the rear flat and take the center beacom off it will just slide under a 7 foot door.